Why convert between devices
Modern kitchens often mix ovens, air fryers, and microwaves. Each appliance heats differently — a conventional oven relies on radiant heat and natural convection, an air fryer uses forced hot air circulation at higher velocity, and a microwave excites water molecules with electromagnetic waves. Because heat transfer mechanisms vary significantly, time and temperature need practical adjustment to keep texture, moisture, and doneness reasonably consistent across devices. Proper conversions align heat transfer rates and airflow so outcomes remain predictable and repeatable, whether you are roasting vegetables, baking chicken, or reheating leftovers. For a deeper understanding of heat transfer principles in cooking, learn about conduction, convection, and radiation in cooking.
Units and temperature
Choose degrees Fahrenheit or degrees Celsius for the original temperature when applicable. Most US recipes use Fahrenheit, while many international recipes use Celsius. The calculator supports both units and converts between them automatically. Microwaves do not use temperature in the same way — they operate on power levels and time — so conversions involving a microwave focus on adjusting minutes rather than degrees. For baked goods, roasted proteins, and casseroles, always verify internal temperature with a food thermometer and finish by visual cues such as browning and bubbling. For more on safe internal cooking temperatures, check the USDA safe minimum internal temperature guidelines.
Rules of thumb
These practical conversion factors are based on common kitchen experience and standard appliance differences. They work well for most everyday recipes but should be treated as starting estimates rather than exact formulas.
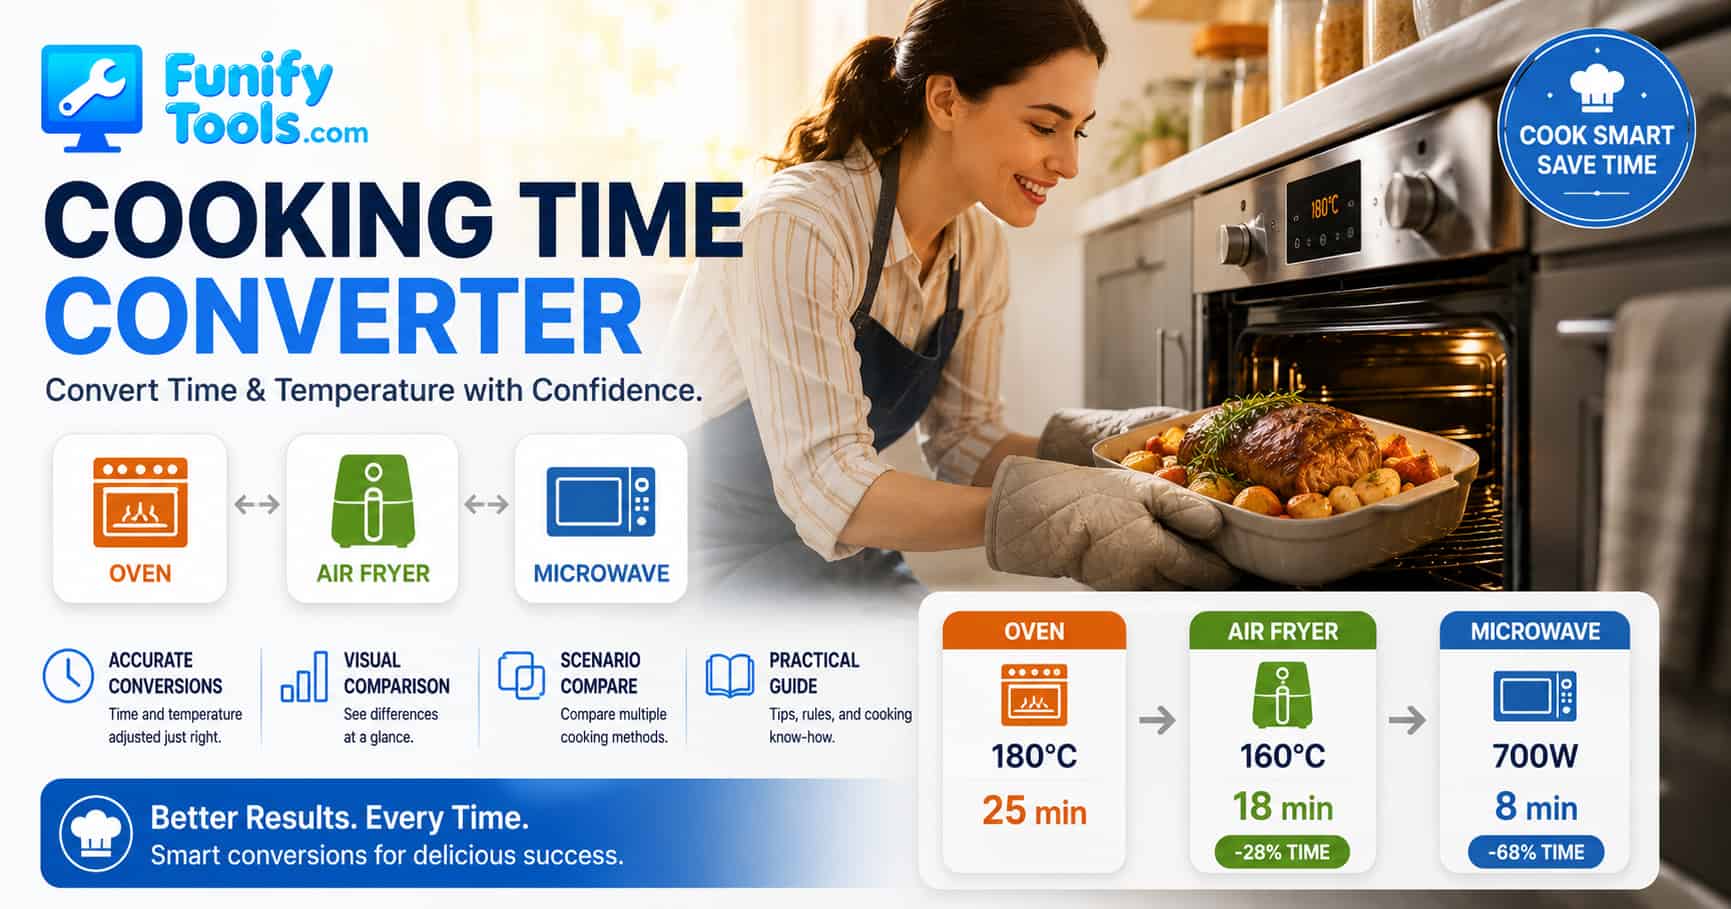
- Oven to Air Fryer: multiply time by 0.8 and reduce temperature by 25°F, which is about 14°C
- Oven to Microwave: multiply time by 0.4; temperature is not used
- Air Fryer to Oven: multiply time by 1.25 and increase temperature by 25°F, which is about 14°C
- Air Fryer to Microwave: multiply time by 0.5; temperature is not used
- Microwave to Oven: multiply time by 2.5 and start around 350°F, which is about 175°C
- Microwave to Air Fryer: multiply time by 2.0 and start around 375°F, which is about 190°C
These values are practical baselines. Adjust for load size, moisture content, and desired browning level. Start checking doneness a few minutes early and finish by texture and internal temperature.
Conversion reference table
The table below shows how common cooking times and temperatures translate across devices using the standard rule-of-thumb factors. Use this as a quick reference when planning meals.
| Oven temp (°F) | Oven time (min) | Air fryer temp (°F) | Air fryer time (min) | Microwave time (min, high power) |
|---|---|---|---|---|
| 350 | 60 | 325 | 48 | 24 |
| 350 | 40 | 325 | 32 | 16 |
| 375 | 30 | 350 | 24 | 12 |
| 400 | 25 | 375 | 20 | 10 |
| 425 | 20 | 400 | 16 | 8 |
| 350 | 15 | 325 | 12 | 6 |
Worked examples
Oven to Air Fryer: 40 minutes at 350°F becomes about 32 minutes at 325°F. Flip once halfway through for even browning. This works well for chicken thighs, roasted potatoes, and breaded items.
Air Fryer to Oven: 20 minutes at 360°F becomes about 25 minutes at 385°F. Use a preheated baking steel or a hot sheet pan to speed surface drying and compensate for the slower convection of a standard oven.
Oven to Microwave: 60 minutes at 350°F becomes about 24 minutes at high power. Because microwaves do not produce browning, crisp the exterior at the end in an air fryer or under a broiler for better texture and visual appeal.
Batch planning and sequencing
When cooking several items for a single meal, order tasks by heat sensitivity and required temperature. Crisping and browning steps should go last, long braises or large roasts should start first, and high-moisture sides such as steamed vegetables can rest warm while you finish browning and crisping steps at higher heat. Group items with similar converted temperatures to reduce the number of preheat cycles and save energy.
- Stagger start times so all items finish within a short serving window.
- Use the scenario compare table in the calculator above to spot timing conflicts and adjust batch sizes.
- Keep a short holding list and a finishing list. Holding uses lower heat (around 200°F / 93°C), while finishing uses quick high heat for browning.
For meal prep strategies and batch cooking tips, explore batch cooking strategies that combine oven and air fryer usage.
Microwave wattage adjustment
Microwave cooking time scales roughly inversely with power output. If a recipe assumes 1000 watts and your microwave is 700 watts, you need to increase the time proportionally. A simple rule is t₂ = t₁ × (W₁ ÷ W₂), where W₁ is the recipe's assumed wattage and W₂ is your microwave's actual wattage. For example, a recipe calling for 10 minutes at 1000 W needs about 14.3 minutes in a 700 W microwave. Pause to stir or rotate the dish halfway for even heating, and always check doneness before the full calculated time on unfamiliar devices.
- Reduce power level and extend time for custards, sauces, and delicate items to prevent curdling or overcooking.
- Use a microwave-safe browning tray or crisper pan for better surface color when finishing is needed.
- Cover dishes with a microwave-safe lid or vented plastic wrap to retain moisture and speed cooking.
Cookware and geometry
The shape, material, and color of your cookware significantly affect heat transfer and cooking time. Shallow, wide pans speed drying and browning by exposing more surface area to hot air. Deep vessels retain moisture and slow surface color development. Dark-colored pans absorb radiant heat faster than shiny or light-colored ones, which can reduce cooking time by 5 to 10 percent. Use wire racks to lift items off the pan surface so hot air can circulate underneath for even crisping.
- For crisping, choose a perforated tray, wire rack, or air fryer basket liner over a solid sheet pan.
- For moist results, use covered dishes or aluminum foil for part of the cooking time and uncover toward the end to finish.
- Glass and ceramic dishes retain heat longer than metal, so reduce temperature by about 25°F (14°C) when substituting.
Racks, pans, airflow
Air fryers rely on unobstructed airflow to crisp food evenly. Crowding the basket slows air circulation and leads to uneven results. Spread items in a single layer and flip or shake them halfway through the cooking time. In conventional ovens, rack height changes top heat exposure — the upper third is best for broiling and browning, while the lower third suits slow roasting. A preheated baking steel or pizza stone accelerates bottom drying for pizzas, flatbreads, and pastries.
Altitude and humidity
At higher elevations, water boils at a lower temperature (about 1°F lower per 500 feet / 152 meters above sea level). This means moist cooking methods such as braising and steaming can take longer, and browning may occur differently because food surfaces dry at a different rate. Humid days slow surface evaporation and can extend crisping time by several minutes. Use the calculator output as a baseline and adjust in one- or two-minute increments based on visual and texture cues.
Checking doneness
Use a reliable instant-read thermometer to check internal temperature for proteins such as chicken (165°F / 74°C), beef (145°F / 63°C for medium), and pork (145°F / 63°C). For bakes and breads, look for golden-brown crust, clean toothpick test, and internal temperature appropriate to the recipe. Texture and moisture are the final judges — rest meats briefly under foil to stabilize juices before slicing. For casseroles and baked pasta, allow carryover heat to finish the center for 5 to 10 minutes after removing from the oven.
Troubleshooting common conversion issues
- Undercooked center: increase time by 2 to 3 minute increments or lower temperature slightly and extend the total cook time.
- Soggy surface: reduce crowding in the basket or pan, or finish in a hotter dry device (air fryer or broiler) for 2 to 3 minutes.
- Too dark outside, raw inside: lower temperature by 25°F (14°C) and extend time, or shield edges with foil near the end.
- Uneven browning: rotate the pan, flip items halfway, or change rack position in the oven.
- Rubbery texture from microwave: reduce power level to 70% and extend cooking time, then crisp in an air fryer or under the broiler.
- Dry or tough meat: reduce cooking time, add moisture with a cover or broth, or check for temperature overshoot.
Food safety notes
Always use cookware rated for your specific appliance. Avoid sealed containers in microwaves as pressure can build and cause explosions. When holding cooked food before serving, keep it at a safe warm temperature above 140°F (60°C) and limit the hold time to two hours maximum. For detailed food safety practices, review food safety holding temperature guidelines.
Common food conversion chart
This table provides estimated conversion times for popular foods. Times are food-specific estimates for common portion sizes, so they may differ from the simple rule-of-thumb formula above. Use them as starting points and verify doneness with a thermometer or visual cues. Always verify doneness with a thermometer or visual cues.
| Food item | Oven temp (°F) | Oven time (min) | Air fryer temp (°F) | Air fryer time (min) |
|---|---|---|---|---|
| Chicken thighs (bone-in, 4 pieces) | 375 | 40–45 | 360 | 22–26 |
| Frozen french fries (1 lb / 450 g) | 425 | 20–25 | 400 | 14–18 |
| Salmon fillet (6 oz / 170 g) | 375 | 15–18 | 350 | 10–12 |
| Brussels sprouts (halved, 1 lb / 450 g) | 400 | 25–30 | 375 | 14–18 |
| Frozen chicken nuggets (1 lb / 450 g) | 400 | 18–22 | 375 | 10–14 |
| Baked potatoes (medium, 8 oz / 225 g each) | 400 | 50–60 | 380 | 35–42 |
| Pork chops (1-inch / 2.5 cm thick) | 375 | 25–30 | 360 | 14–18 |
Microwave wattage time adjustment chart
If your microwave wattage differs from the wattage assumed in a recipe, use this chart to adjust the cooking time. Find your microwave wattage on the left and the recipe time across the top, then read the adjusted time at the intersection.
| Your microwave wattage | Recipe says 5 min | Recipe says 10 min | Recipe says 15 min | Recipe says 20 min |
|---|---|---|---|---|
| 1200 W | 4:10 | 8:20 | 12:30 | 16:40 |
| 1000 W (standard) | 5:00 | 10:00 | 15:00 | 20:00 |
| 900 W | 5:33 | 11:07 | 16:40 | 22:13 |
| 800 W | 6:15 | 12:30 | 18:45 | 25:00 |
| 700 W | 7:09 | 14:17 | 21:26 | 28:34 |
| 600 W | 8:20 | 16:40 | 25:00 | 33:20 |
Times are formatted as minutes:seconds. For wattages not listed, use the formula t₂ = t₁ × (1000 ÷ your wattage). For more on microwave power levels and how they affect cooking, read this guide to microwave power level adjustments.
Key takeaways from this guide
- Device changes always require time and temperature adjustments based on the dominant heat transfer method.
- Microwaves control power and time rather than temperature — focus on minute adjustments.
- Scenario comparison helps you identify timing conflicts across a multi-item menu before you start cooking.
- Recent calculations are saved locally in your browser, and full results are also saved to Funify Notes for later reference.
- Always verify doneness with a thermometer rather than relying solely on calculated time.
- Keep notes on what worked for your specific appliances and favorite recipes to build a personalized conversion playbook.
References and further reading
Wikipedia: Cooking | Air fryer conversion charts | Microwave wattage conversion | Oven to air fryer time and temperature guide